Code Breaks... So What Now
Welcome to debugging hell! Wait, I mean… welcome to our hands-on workshop. We’ve got a “slightly broken” application called ErrorFix—a revolutionary marketplace where developers can solve costly errors (ironic, isn’t it?). Unfortunately, ErrorFix itself is experiencing a collection of fascinating bugs, from database issues to authentication problems to mysterious transaction failures.
But don’t worry—by the end of this workshop, you’ll be fixing errors like a pro with Sentry’s tools. We’ll use stack traces, replays, and even recruit some AI robots with Sentry’s Autofix feature.
Meet ErrorFix: The Buggiest Error Marketplace Ever
ErrorFix is built with Next.js and includes:
- User authentication (when it works)
- Error fix listings to help you solve the hardest code problems (sometimes)
- API endpoints that occasionally decide to take a vacation
- A database connection that’s having an existential crisis
- Performance issues that would make a sloth look speedy
These aren’t bugs—they’re learning opportunities! And we’re going to catch every single one.
Option 1: Running Locally (For the Full Experience)
For the complete debugging adventure, let’s run ErrorFix locally:
1. Install Node.js (if you haven’t already)
First, you’ll need Node.js (version 18 or higher recommended):
-
Windows:
- Download the installer from nodejs.org
- Run the installer and follow the setup wizard
- Accept the default installation options (unless you have a good reason not to)
-
macOS:
- Download the macOS installer from nodejs.org
- Run the installer package and follow the instructions
- Alternatively, if you use Homebrew:
brew install node
Verify your installation by opening a terminal or command prompt and typing:
node --versionnpm --versionYou should see version numbers rather than “command not found” errors.
2. Clone the Repository
Now, let’s get that buggy code onto your machine:
git clone https://github.com/codyde/ErrorFix-Workshop.gitcd ErrorFix-Workshop3. Install Dependencies
Install all those packages that ErrorFix so desperately needs:
npm install(Grab a coffee—this might take a minute. Dependencies, am I right?)
4. Start the Development Server
Launch the application so we can see those errors in all their glory:
npm run dev5. Open the Application
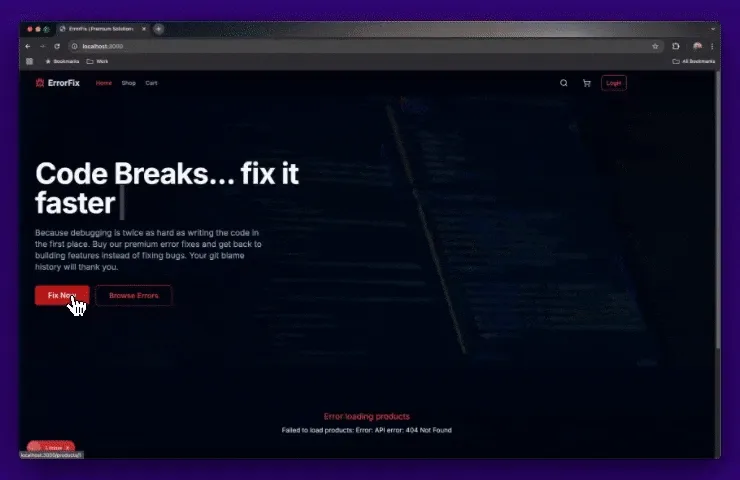
Navigate to http://localhost:3000 in your browser.
Congratulations! You’re now running a broken application. We’ll fix it soon, I promise.
Option 2: StackBlitz (For the Browser Lovers)
Don’t want to mess with local setup? No problem! StackBlitz lets you run everything in your browser:
-
Click this magic button to open the project in StackBlitz:

-
Wait for StackBlitz to set everything up (it’s doing all that Node.js/npm stuff automatically)
-
Once loaded, you’ll see the application running in the preview panel
-
If the preview doesn’t show automatically, click the “Open in New Tab” button to see the app
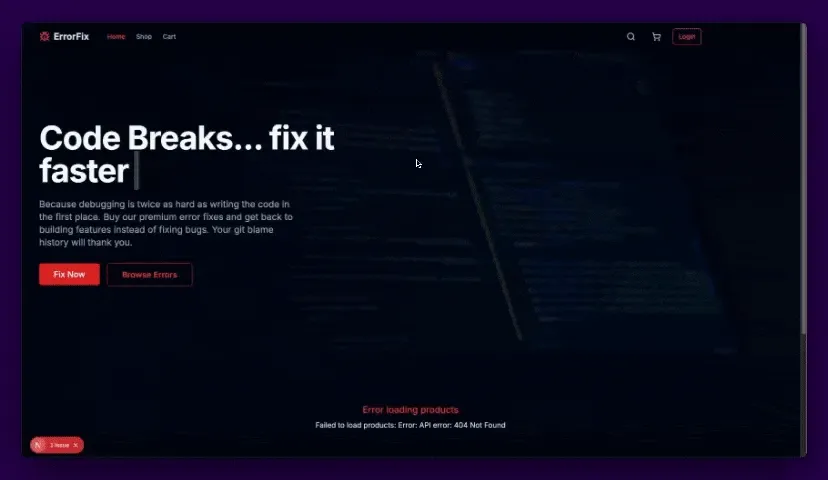
Is It Working? (Define “Working”)
Now that you’ve got ErrorFix running (sort of), take a moment to click around and experience our carefully crafted chaos:
- Try to log in… Oh, that’s embarrassing. Authentication seems to be having an identity crisis.
- Notice the empty marketplace? Where are all the error listings? Apparently, our error store has… errors.
- Let’s click that promising “Fix Now” button because that would surely help… Wait, that’s not working either?
Next Steps
Now that we’ve got our gloriously broken application up and running, it’s time to add some error monitoring. In the next section, we’ll install Sentry to start catching these errors and figuring out what’s actually going wrong.